Introduction: What Facebook Pixel Is
Pixel tracking is what connects your Facebook and Instagram ads to what happens on your website. The Facebook pixel, now the Meta pixel, is a piece of code on your site that records what visitors do and sends it to Meta, so you can see which ads lead to sales and Meta can show your ads to the people most likely to buy.
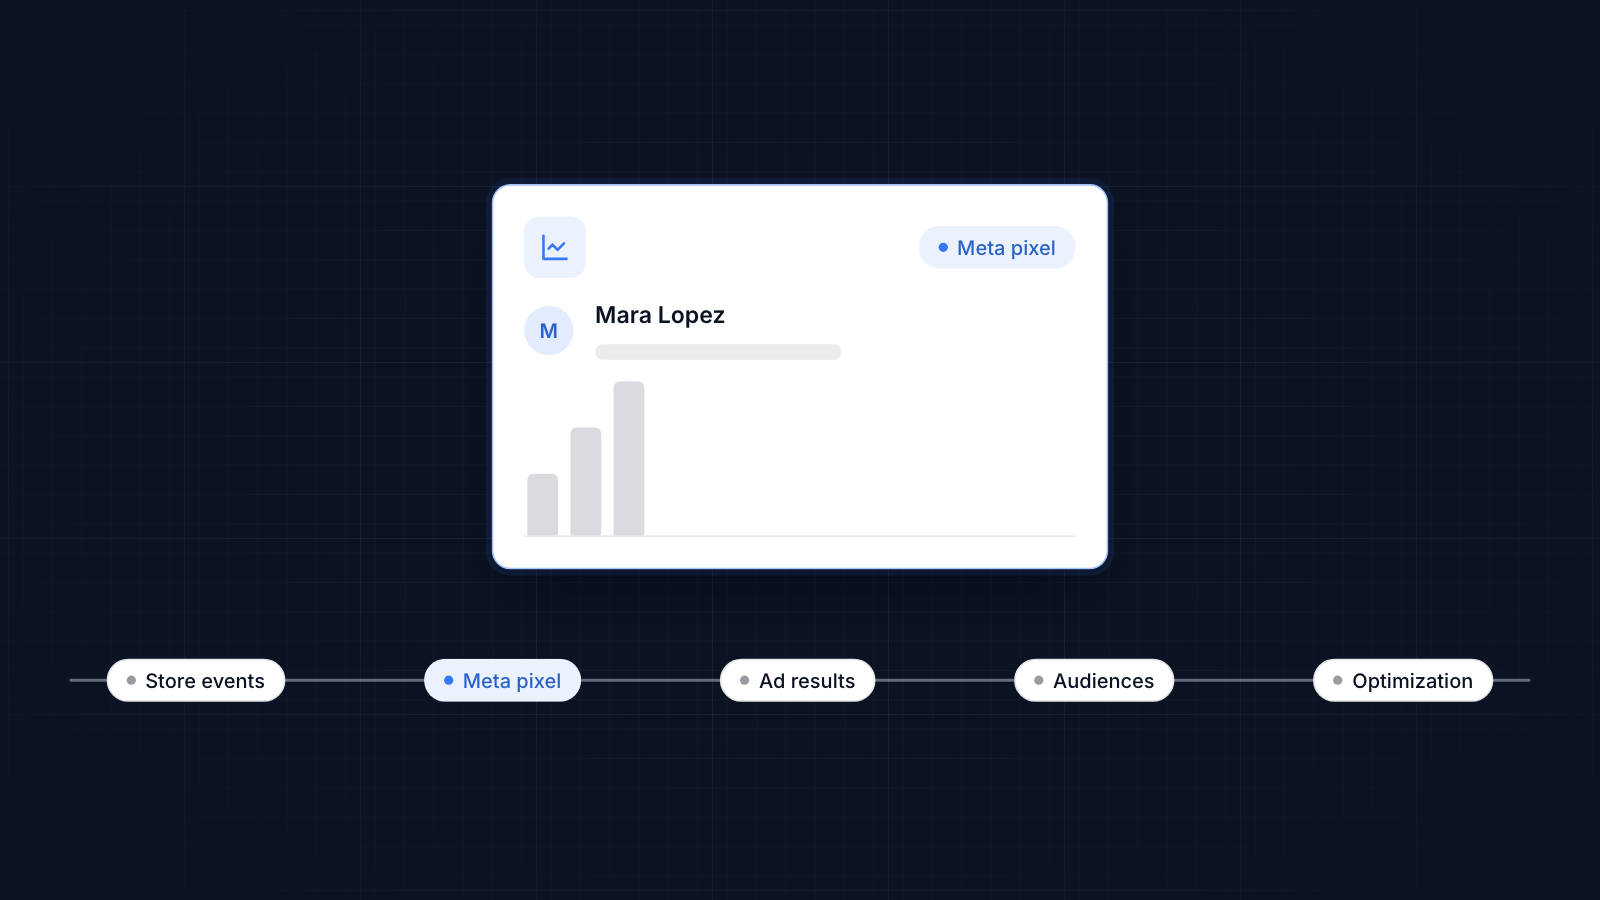
Pixel tracking in Facebook ads has four jobs: measuring results, building audiences, optimizing delivery and reporting. This guide explains each one, how to set up the pixel, best practices, and the limits you should know about.
Key takeaways
- The Meta pixel records actions on your site, such as product views, add-to-carts and purchases, and sends them to Meta.
- That data measures your ads, builds custom and lookalike audiences, and trains Meta's delivery.
- Ad blockers, browser privacy settings and iOS limits stop the pixel for some visitors.
- The Conversions API sends the same events from a server, which fills many of those gaps.
- Check your setup regularly in Events Manager, including event match quality.
Role and Benefits of Pixel Tracking in Facebook Ads
The role of pixel tracking is to tell Meta what people do on your website after seeing your ads, so you can measure, target and optimize your campaigns.
Conversion Tracking
The pixel shows how many people who saw or clicked your ads went on to view products, add to cart or buy. You can see which ads and offers lead to purchases, not just clicks, and put your budget into the ones that work.
With conversion tracking, you can:
- Measure which ads are most effective
- Compare ad spend with the sales it brings in
- Increase spend on ads that work and cut it on ads that do not
- Refine who you target and when
- Set goals that match your business, such as purchases, sign-ups or subscriptions
Meta credits conversions within an attribution window. The usual default is 7 days after a click or 1 day after a view, so your ad results will not match your store's own sales reports exactly.
Audience Building and Retargeting
The pixel builds audiences from what people do on your site. Custom audiences let you reach people who took specific actions, such as viewing a product or adding to cart, and lookalike audiences find new people who resemble your buyers.
Retargeting uses those custom audiences to show ads to people who have already visited. If you have looked at a product on a website and then seen it in your Facebook feed, that is retargeting.
Optimization of Ad Campaigns
When you choose a goal such as purchases, Meta uses your pixel events to learn who is likely to buy and shows your ads to more people like them. The more accurate events it receives, the better it can optimize.
You can also use the data yourself: refine your audience, adjust budgets, and change creative based on what the numbers show rather than guesswork.
Reporting and Analytics
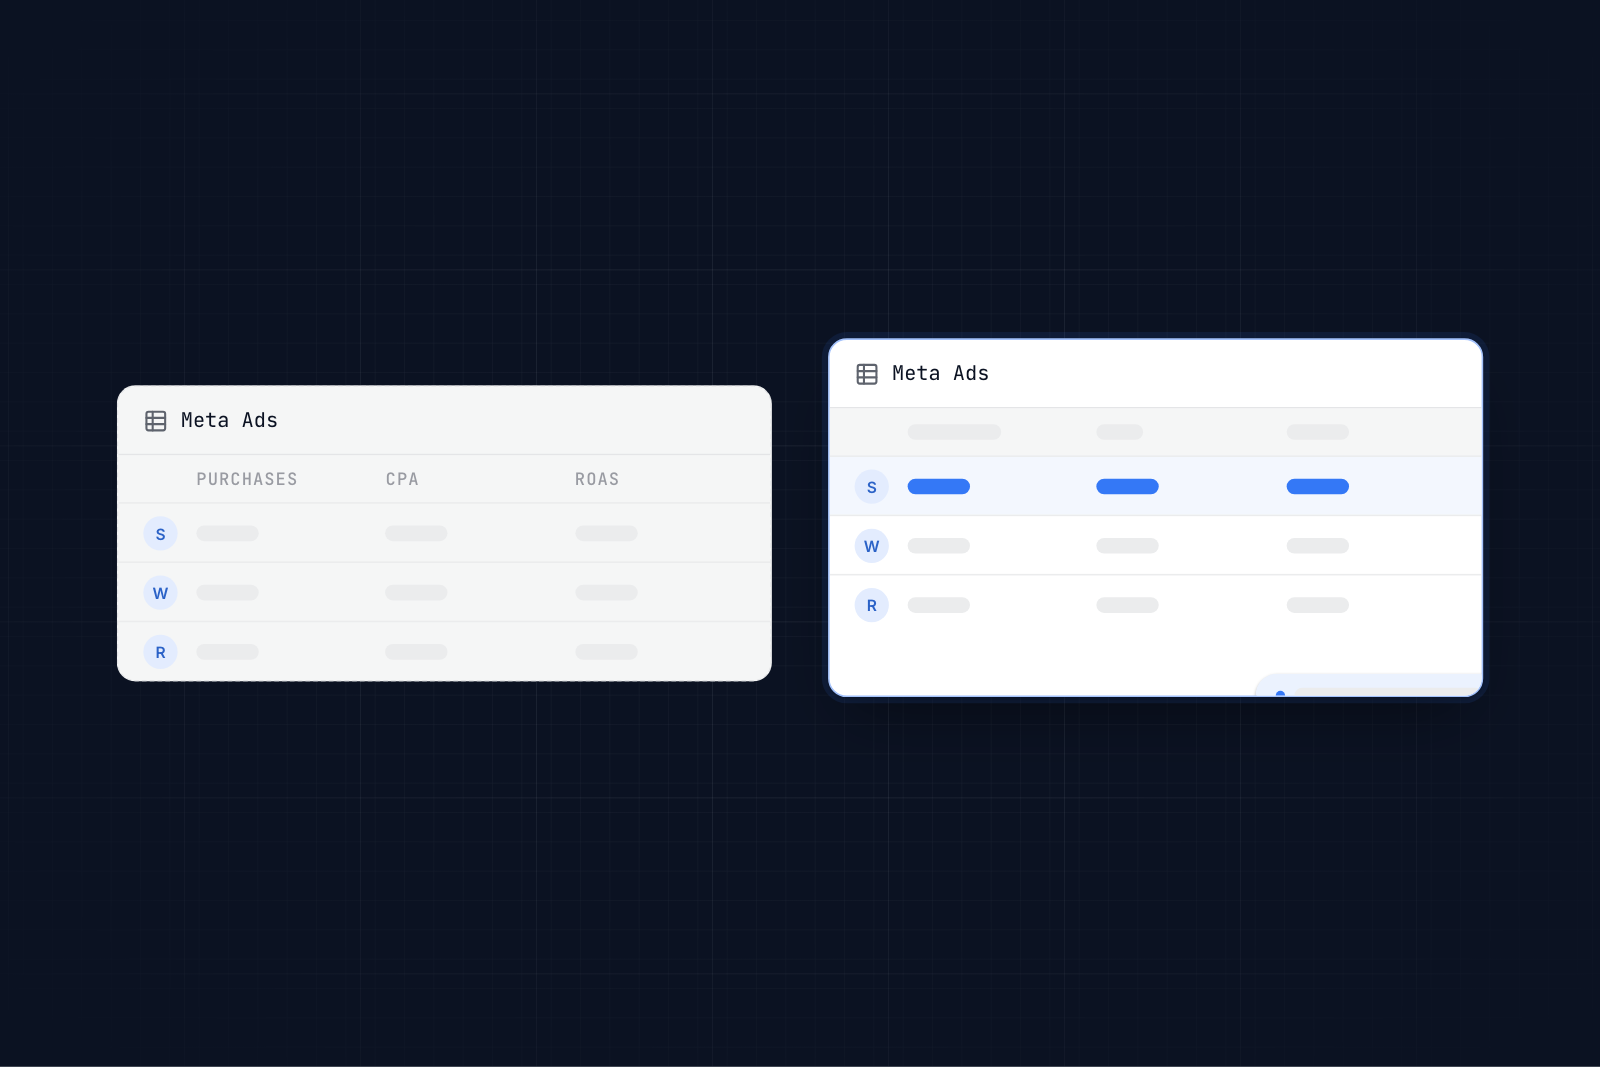
Pixel data feeds the reports in Ads Manager and Events Manager. Use it to see what works, what does not, and how people move from ad to purchase.
Choose a few key metrics and watch them:
- Purchases and purchase value
- Cost per purchase
- Return on ad spend
Setting Up Facebook Pixel
You need the pixel installed before any of this works. On Shopify, follow our guide to set up your Facebook pixel, which uses Shopify's Facebook & Instagram app. This video also walks through it:
For other websites, the steps are below.
Creating a Pixel in Facebook Business Manager
- Open Meta Events Manager.
- Click Connect data sources.
- Choose Web.
- Create a new dataset and name it.
- Choose to set it up manually or with a partner integration.
Meta labels pixels as datasets in some menus. Each one has its own ID.
Installing Pixel on your website
To install the code manually:
- Copy the pixel's base code from Events Manager.
- Paste it into your site's shared header, just above the closing
</head>tag, so it loads on every page. - Enter your website address in Events Manager to check the pixel is detected.
Then turn on Automatic Advanced Matching, and add events such as Purchase and AddToCart, either in code or with Meta's Event Setup Tool.
If your platform has a partner integration, such as Shopify, use that instead of pasting code. Integrations cover checkout and usually add the Conversions API.
Verifying Pixel is working correctly
Check the pixel works before you rely on it.
-
In Events Manager
- Open your pixel and use Test Events while you browse your site.
- Check the Diagnostics tab for problems Meta has found.
- Check the overview to see that events are arriving.
-
With the Meta Pixel Helper
- Install the Meta Pixel Helper extension for Chrome.
- Open your website in Chrome and click the extension's icon.
- Check which events fire on each page and whether there are errors.
Best Practices for Using Facebook Pixel
A working pixel only helps if it stays accurate.
- Make sure the pixel loads on every page, including checkout.
- Check it regularly, and after any change to your site.
- Fix problems Events Manager flags promptly.
- Turn on Advanced Matching to match more events to Meta users. If you need separate data for different teams, you can also add more than one pixel.
- Use the Conversions API alongside the pixel, with matching event IDs so events are counted once.
- Watch event match quality in Events Manager. It scores how well Meta can match your events to its users.
- Be clear about your campaign goals and the metrics that measure them.
- Review the data and change your campaigns based on what it shows.
Challenges and Limitations
Pixel tracking is useful but not complete.
Ad blockers and cookie restrictions
Ad blockers can stop the pixel from loading at all. Safari and Firefox limit cookies and tracking by default, and Apple's App Tracking Transparency limits tracking for iOS users who opt out. These all reduce the events Meta receives and make audiences smaller.
Browser-side tracking
The pixel runs in the visitor's browser, so anything that stops the browser sending data stops the pixel. The Conversions API sends events from a server instead, which recovers many of those lost events.
Accessing reliable data continuously
Site errors, slow pages, theme changes and new apps can break tracking without warning. Test after every change.
Limited timespan
The pixel only records from the day you install it. It cannot collect data about earlier visits, so install it before you start advertising.
Different numbers in different places
Meta, Shopify and Google Analytics count visits and credit sales differently, so their numbers will not match exactly. Here is how to handle the mismatch.
Error messages
Events Manager shows warnings and errors when something is wrong. Most have simple fixes:
- Check the pixel is installed once, not twice
- Follow the fix Events Manager suggests
- Use the Meta Pixel Helper to see what fires on each page
- Check Meta's help center and forums
- Check Events Manager regularly for new warnings
Future Trends and Developments
Pixel tracking keeps changing as privacy rules and ad technology change.
AI and machine learning
Meta's ad delivery relies more and more on machine learning, which depends on the events your pixel and Conversions API send. Accurate, complete events give it better data to learn from.
Overcoming privacy and cookie-related challenges
Expect less reliance on browser cookies and more on first-party data: server-side events, customer lists, and details customers share with you, such as email addresses, sent in hashed form.
Conclusion
Pixel tracking in Facebook ads connects your ads to what happens on your site. The Meta pixel records actions such as purchases, which lets you measure results, build audiences, optimize delivery and report on what works. Add the Conversions API to cover what the browser pixel misses, and check your setup regularly.
On Shopify, MultiPixels installs Meta, TikTok, Pinterest, Snapchat and GA4 pixels without editing theme code. Install MultiPixels on your Shopify store to run several tracking pixels at once.
FAQs
What exactly is the Facebook Pixel doing behind the scenes?
It is code on your website that sends an event to Meta each time a visitor does something you track, such as viewing a product or buying. Meta matches those events to its users and to your ads.
Where do I go to get the Facebook Pixel added to my site?
Create the pixel in Meta Events Manager, under Connect data sources. Then add it with a partner integration, such as Shopify's Facebook & Instagram app, or paste the base code into your site's header.
Which user actions actually show up in Facebook Pixel data?
Page views, product views, searches, add-to-carts, checkouts started, payment info added, purchases and leads, plus any custom events you set up.
Why does adding the Facebook Pixel sharpen ad targeting?
It tells Meta who visited, what they looked at and who bought. Meta uses that to build custom and lookalike audiences and to show your ads to people more likely to act.
Does using the Facebook Pixel put me at risk under GDPR?
It can if you use it without consent where the law requires it. Meta expects advertisers to comply with GDPR and other privacy laws, which usually means a cookie consent banner and a clear privacy policy.