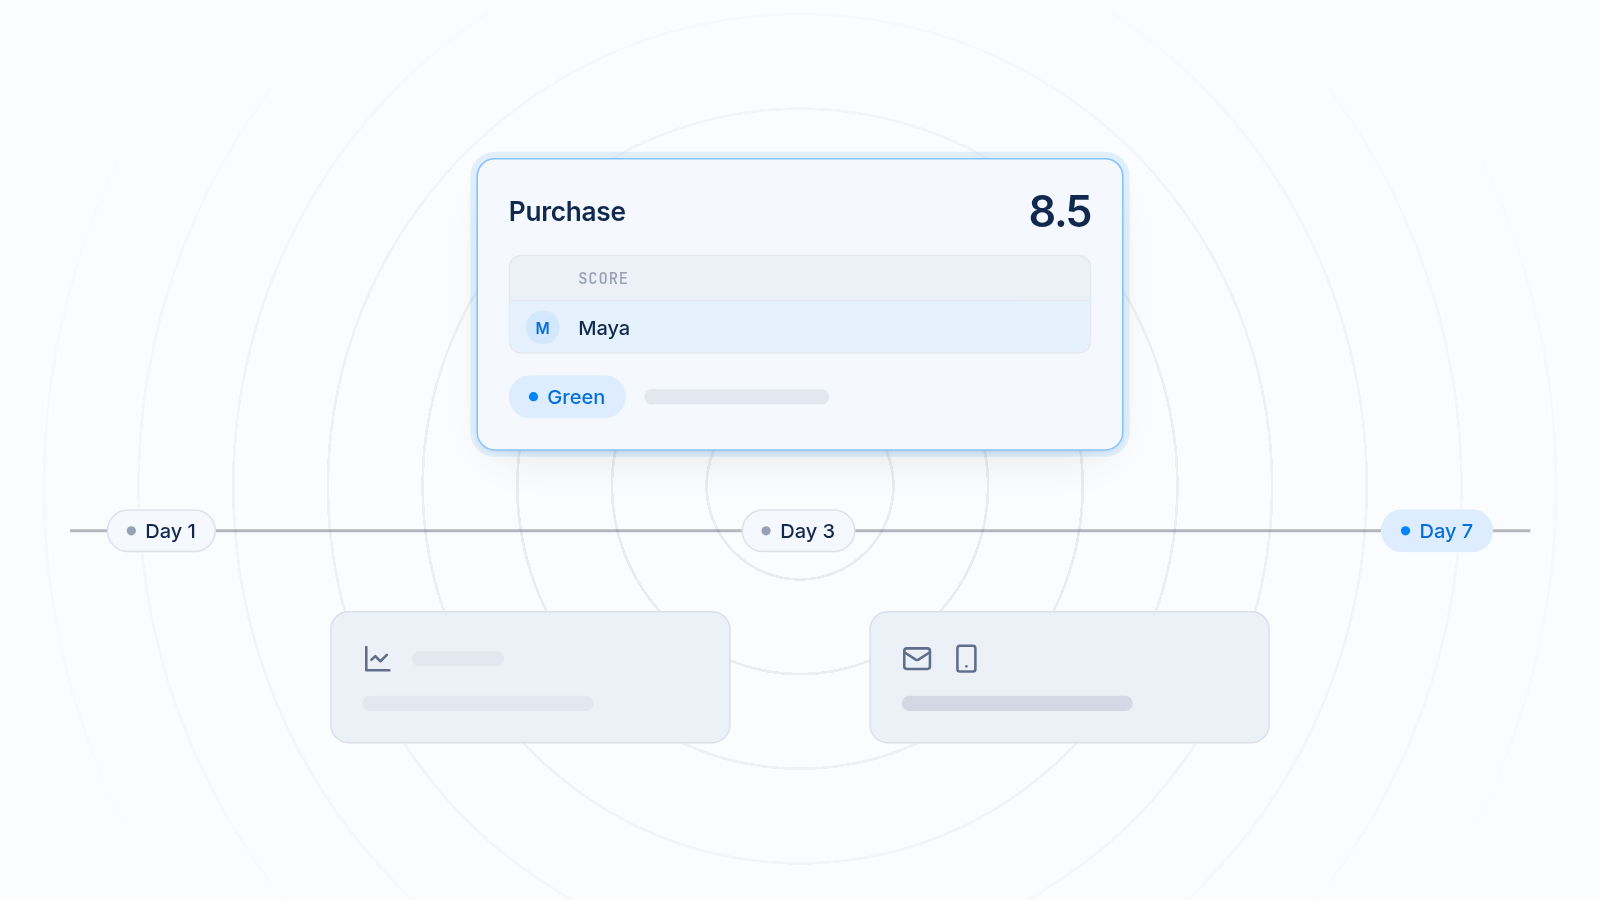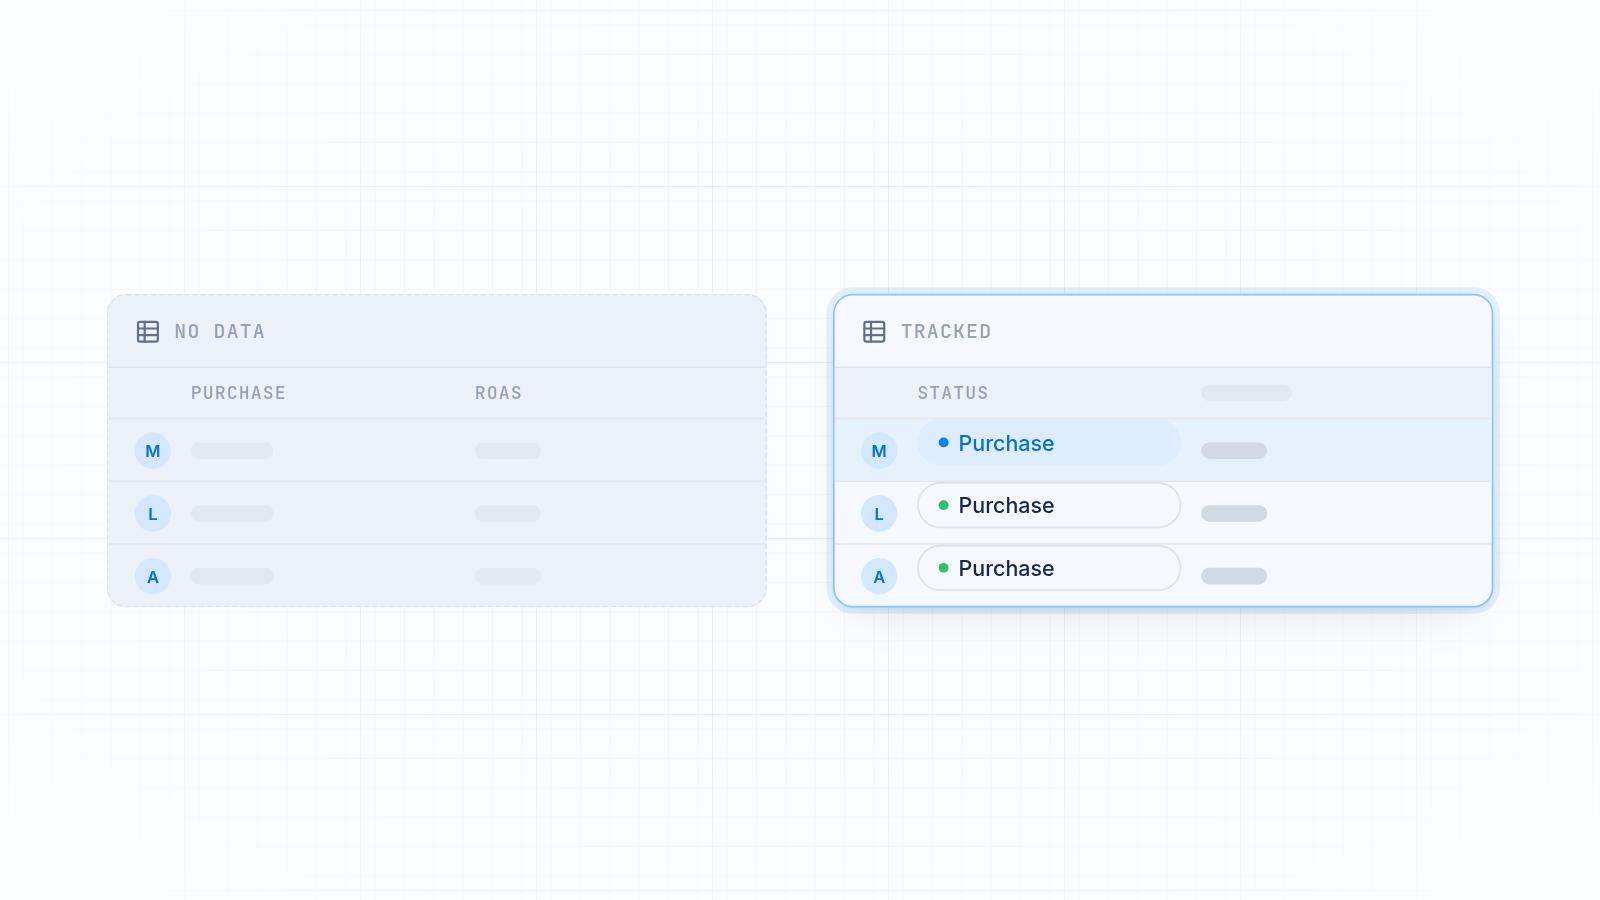
To add AppLovin pixel to Shopify, copy your pixel and event key from AppLovin, install the pixel on your store, and map the purchase, add to cart and view content events. Then place a test order and check that the event and its value show up in AppLovin. With MultiPixels you can do this in a few minutes, and no code or tech team is required. Without a working pixel, AppLovin can't see your sales, and you pay for clicks it can't learn from.
This guide covers where to find your key, how to install it, how to check your numbers, and how the main setup routes compare.
Key takeaways
AppLovin can only optimize for sales if the pixel fires on your store and sends purchase values.
You need your AppLovin pixel and event key before you start.
Map three events first: purchase, add to cart and view content.
Test with a real order, then compare purchase values and ROAS with Shopify orders.
You can use AppLovin's native Shopify integration, Google Tag Manager, or MultiPixels. They differ in setup effort, control over events and how well they work with other pixels.
Why AppLovin conversion tracking matters for ad spend
AppLovin conversion tracking matters because the platform bids based on the sales it can see. If it never hears about a purchase, it can't find more people like your buyers, and your campaign report shows spend and little else.
Bad data also makes your reports disagree. Shopify shows an order, AppLovin shows nothing, and you guess which ads work. Or a purchase is counted twice and your ROAS looks better than it is. Either way, budget moves in the wrong direction.
Getting this right at launch is cheaper than fixing it after weeks of spend. If the numbers still differ after setup, go through the checks below.
Find your AppLovin pixel and event key
Your pixel and event key are in your AppLovin Ads account, in the events and keys area. Have them ready before you open Shopify.
- Log in to your AppLovin Ads account.
- Open Events Manager or the keys section.
- Copy your pixel ID and your event key.
- Keep them in a note you can paste from.
Menu names change from time to time, so follow the closest match on your screen. If you can't find the key, ask AppLovin support before moving on. Guessing leads to events that never arrive.
Install the AppLovin pixel with MultiPixels
You install the AppLovin pixel with MultiPixels by pasting your keys into the app and saving. No code or tech team required. MultiPixels runs pixels through Shopify's customer events, so nothing goes into your theme and a theme update won't break your tracking.
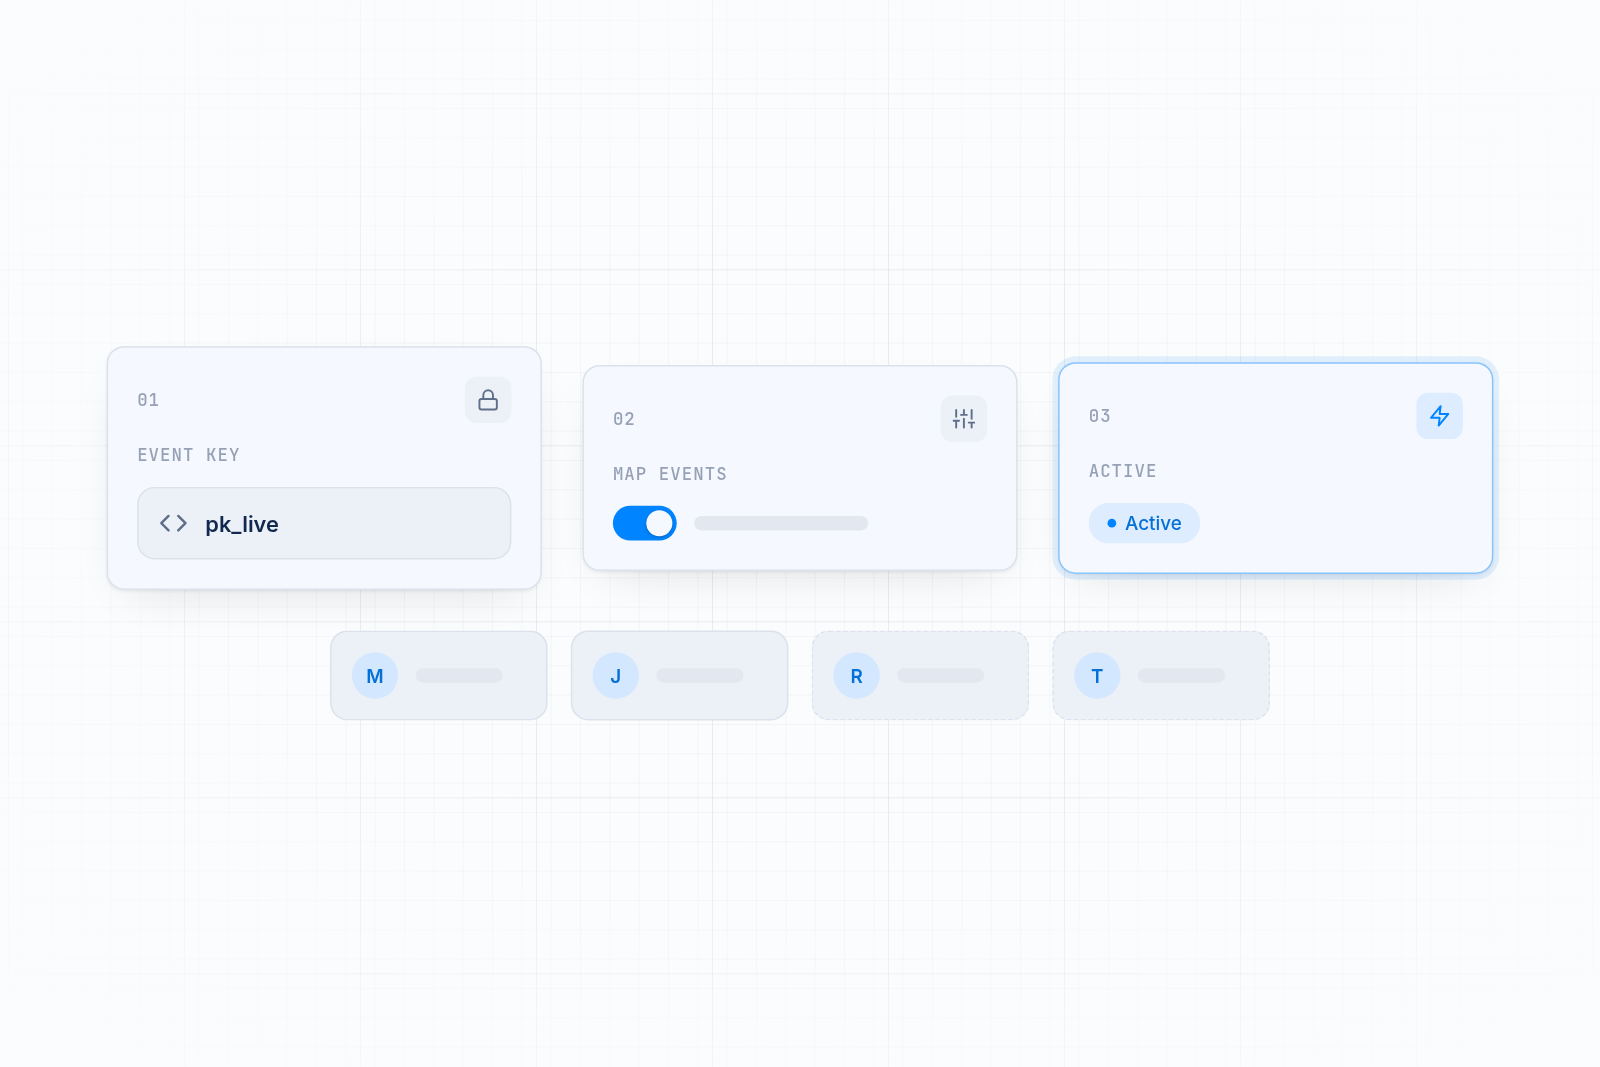
- Install the app. Find MultiPixels in the Shopify App Store and install it.
- Add AppLovin. Open the integrations list and choose AppLovin. You can see the current list on the integrations page. Confirm AppLovin is listed there before you start.
- Paste your keys. Enter your pixel ID and event key, then save.
- Clear old code. In Shopify, go to Settings > Customer events and note what is listed. Remove any older AppLovin code, including anything pasted into your theme.
- Turn on the pixel. Confirm it shows as active.
Remove duplicates first. Two copies of the same pixel count each sale twice, and AppLovin will think your campaigns perform better than they do.
Map purchase, add to cart and view content events
Event mapping tells AppLovin which shopper actions count as what. A pixel that only records page views can't show which ads drive revenue. Start with these three:
- Purchase. Fires when an order completes. It should carry the order value. This is the most important event.
- Add to cart. Shows buying interest and gives AppLovin more to learn from.
- View content. Fires when someone looks at a product page.
Map purchase first and get it working, then add the other two. Make sure each event fires once per action. A purchase that fires on every reload of the thank you page will inflate your ROAS.
Check that events arrive in AppLovin
To check that events arrive in AppLovin, place a test order and look for each event in Events Manager. Do this before you raise your budget.
- Open your store in a private browser window.
- View a product, add it to your cart and start checkout.
- Place a test order.
- In AppLovin Events Manager, look for view content, add to cart and purchase.
- Confirm each one appears once and without errors.
Events can take a little while to show up. If nothing appears after a reasonable wait, recheck the keys and look for a second copy of the pixel.
Check that purchase values and ROAS match Shopify
Your purchase values in AppLovin should line up with the orders in Shopify. This is where bad data stops wasting ad spend.
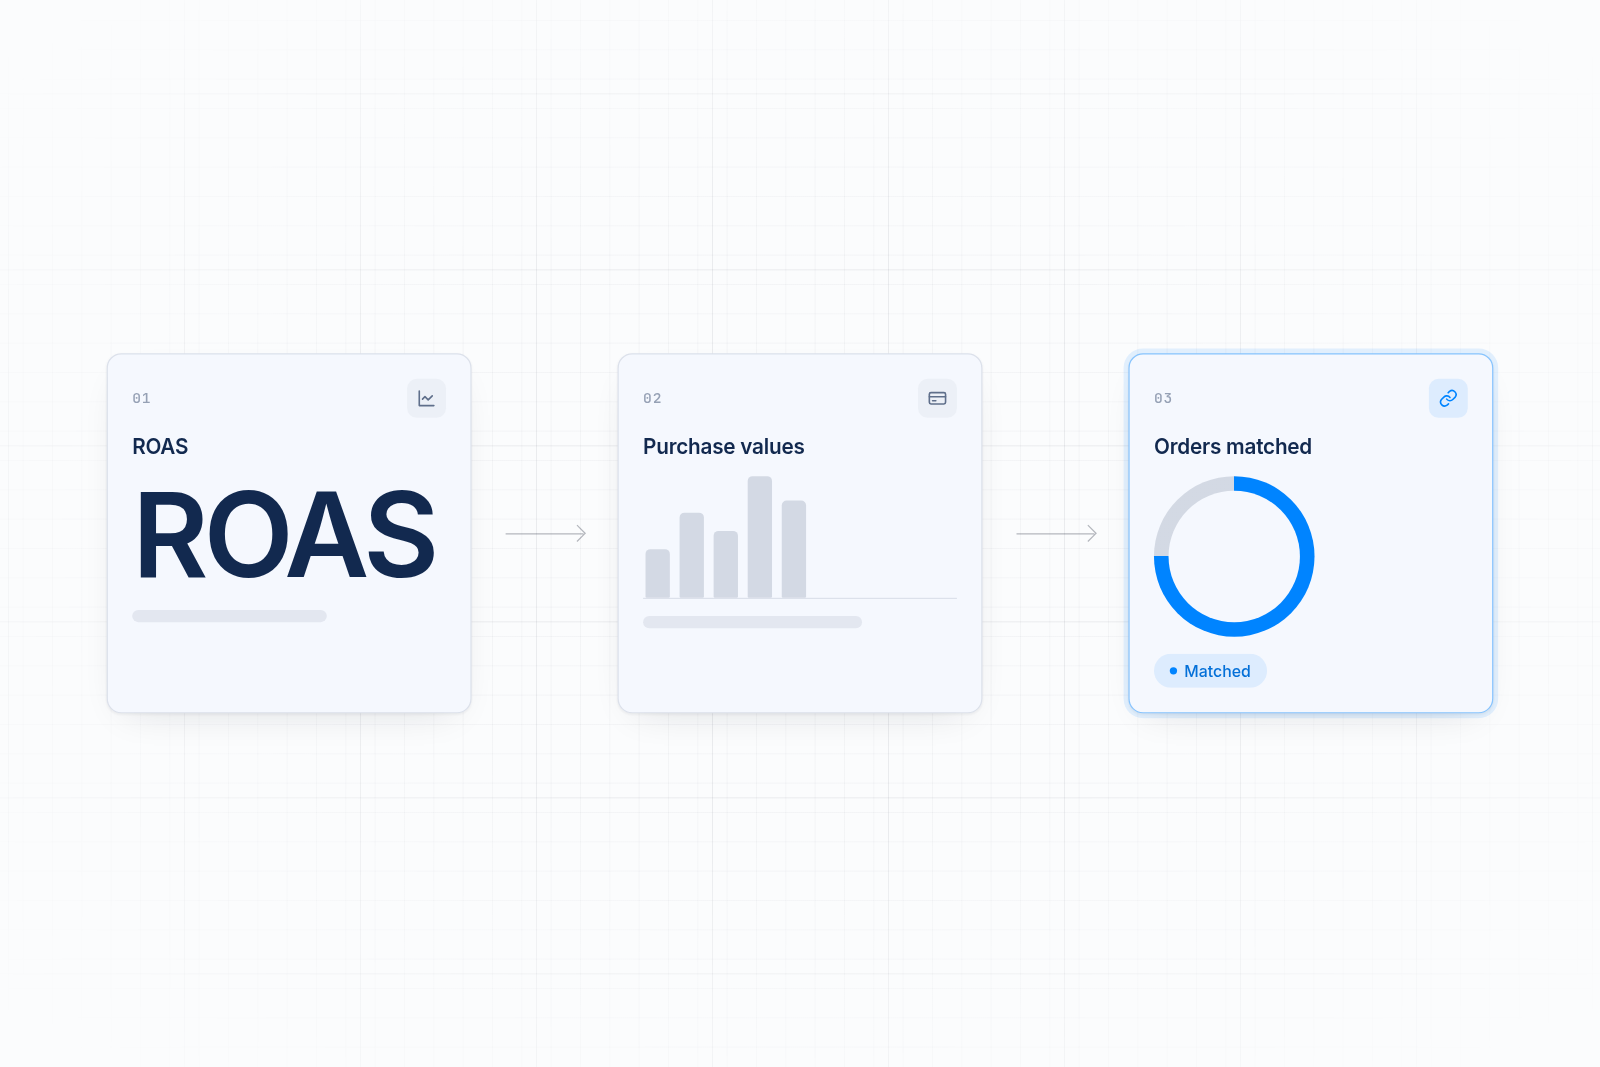
- Pick a short date range with a few orders.
- In Shopify, note the order count and total sales for that range.
- In AppLovin, note the purchases and revenue for the same range.
- Compare the two.
Expect small gaps. AppLovin counts sales from ad clicks, so it will usually report fewer than Shopify shows in total. It may use a different attribution window too. What you should not see are purchases with a zero value, double counts, or whole days with no purchases at all.
If something looks off, work through these checks:
- Confirm the pixel is connected to the right AppLovin account.
- Remove duplicate pixels or tags, including old ones in your theme or Google Tag Manager.
- Make sure the purchase event includes the order value and currency.
- Check that redirects on your landing page links keep any tracking parameters AppLovin adds.
- Look at whether ad blockers, cookie consent settings or checkout changes stop the purchase event from firing.
If your pixel numbers and Shopify's differ widely, this guide to fixing pixel and Shopify analytics mismatches walks through the causes.
How the three routes compare
The three common routes to an AppLovin Shopify integration are AppLovin's native Shopify integration, a Google Tag Manager setup, and MultiPixels. The table covers setup effort, control over events and running AppLovin next to other pixels. Entries for the other approaches are general, so confirm details on each listing before you decide.
| AppLovin's native Shopify integration | Google Tag Manager | MultiPixels | |
|---|---|---|---|
| What it does | Connects your store to AppLovin and sets up its pixel and catalog | You build tags and triggers for each event yourself | Installs and manages ad pixels through Shopify's customer events |
| Setup effort | Low. Install, connect and enable | Higher. Needs tag setup and testing | Low. Paste keys, map events, test. No code or tech team required |
| Control over events | Limited to what the app sends | Full, if you build it | You choose and map the events |
| Running next to Meta, TikTok and Google pixels | Handles AppLovin only | Possible, but you maintain each tag | Manages Facebook, Instagram, TikTok, Snapchat, X and Pinterest in one place |
| Backup pixel | No | Only if you build it | Yes |
| Price | Free to install, per the Shopify listing | Free tool, plus your time | $9.99, $19.99 or $39.99 a month after a 10-day free trial |
| Best for | Stores that run AppLovin alone | Teams with someone who knows tag setup | Stores that run several ad platforms and want one place to manage them |
MultiPixels handles pixel setup, backup and audience tools. It doesn't replace your ad platforms or write your ads, and it is a paid app once the trial ends. Check the integrations page for the current AppLovin listing.
If AppLovin is your only channel, the native integration may be enough. If you run Meta, TikTok and Google as well, one app for all of them keeps your process simple and makes duplicate pixels easier to spot.
Start tracking AppLovin sales today
Install the MultiPixels app from Shopify and start your 10-day free trial. Add your AppLovin keys, map your events, place a test order, and see whether your conversions and ROAS match your Shopify orders.